Getting started
What is Rundown Studio?Create an accountRundown
Rundown basicsColumnsTemplatesSettingsGaps and overlapsTrashCell historyMentionsText variablesRunning a showSub-timersImport CSV rundownEvent
Event basicsSharing eventsAPI
Getting startedAPI reference ↗Build a rundown from CSVWorking with cell contentLive updates over SSESub-timers (experimental)Advanced usageError referenceMigrating from v0API v0 (deprecated)Integrations
Companion ModuleBitfocus ButtonsOBS StudioOnTheAir VideoProPresenterQLabSharing and outputs
Read-only rundownEditable rundownQuick access codeOutputPrompterPDF exportCSV exportAccount
Your teamSubscription and invoicesUpdates
ChangelogOutput
We’re keen to let you use Rundown Studio wherever you need it - whether that’s on tablets, monitors, video production multiviews or even on your phone.
While some screens have space for lots of information, others don’t - that’s why we’ve built custom outputs for use wherever you need them.

Generate output
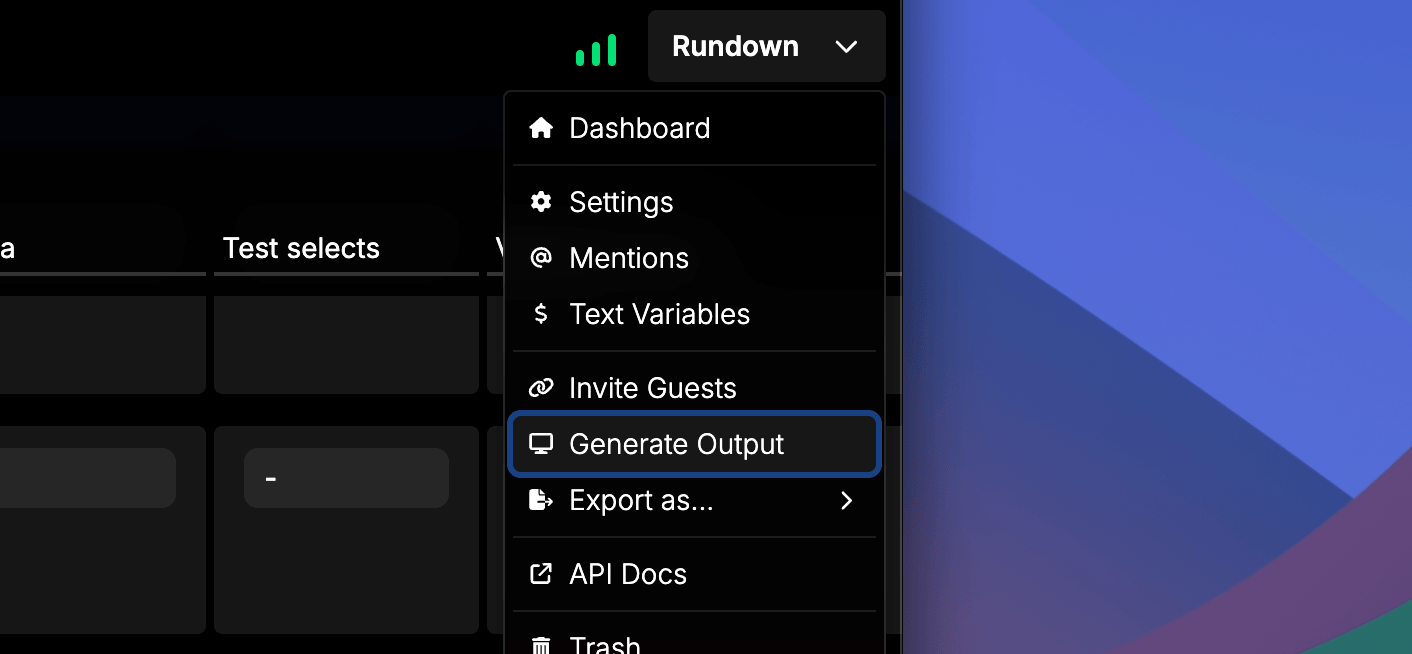
Get started by using the Rundown menu to open the Generate Output modal.
Default layouts
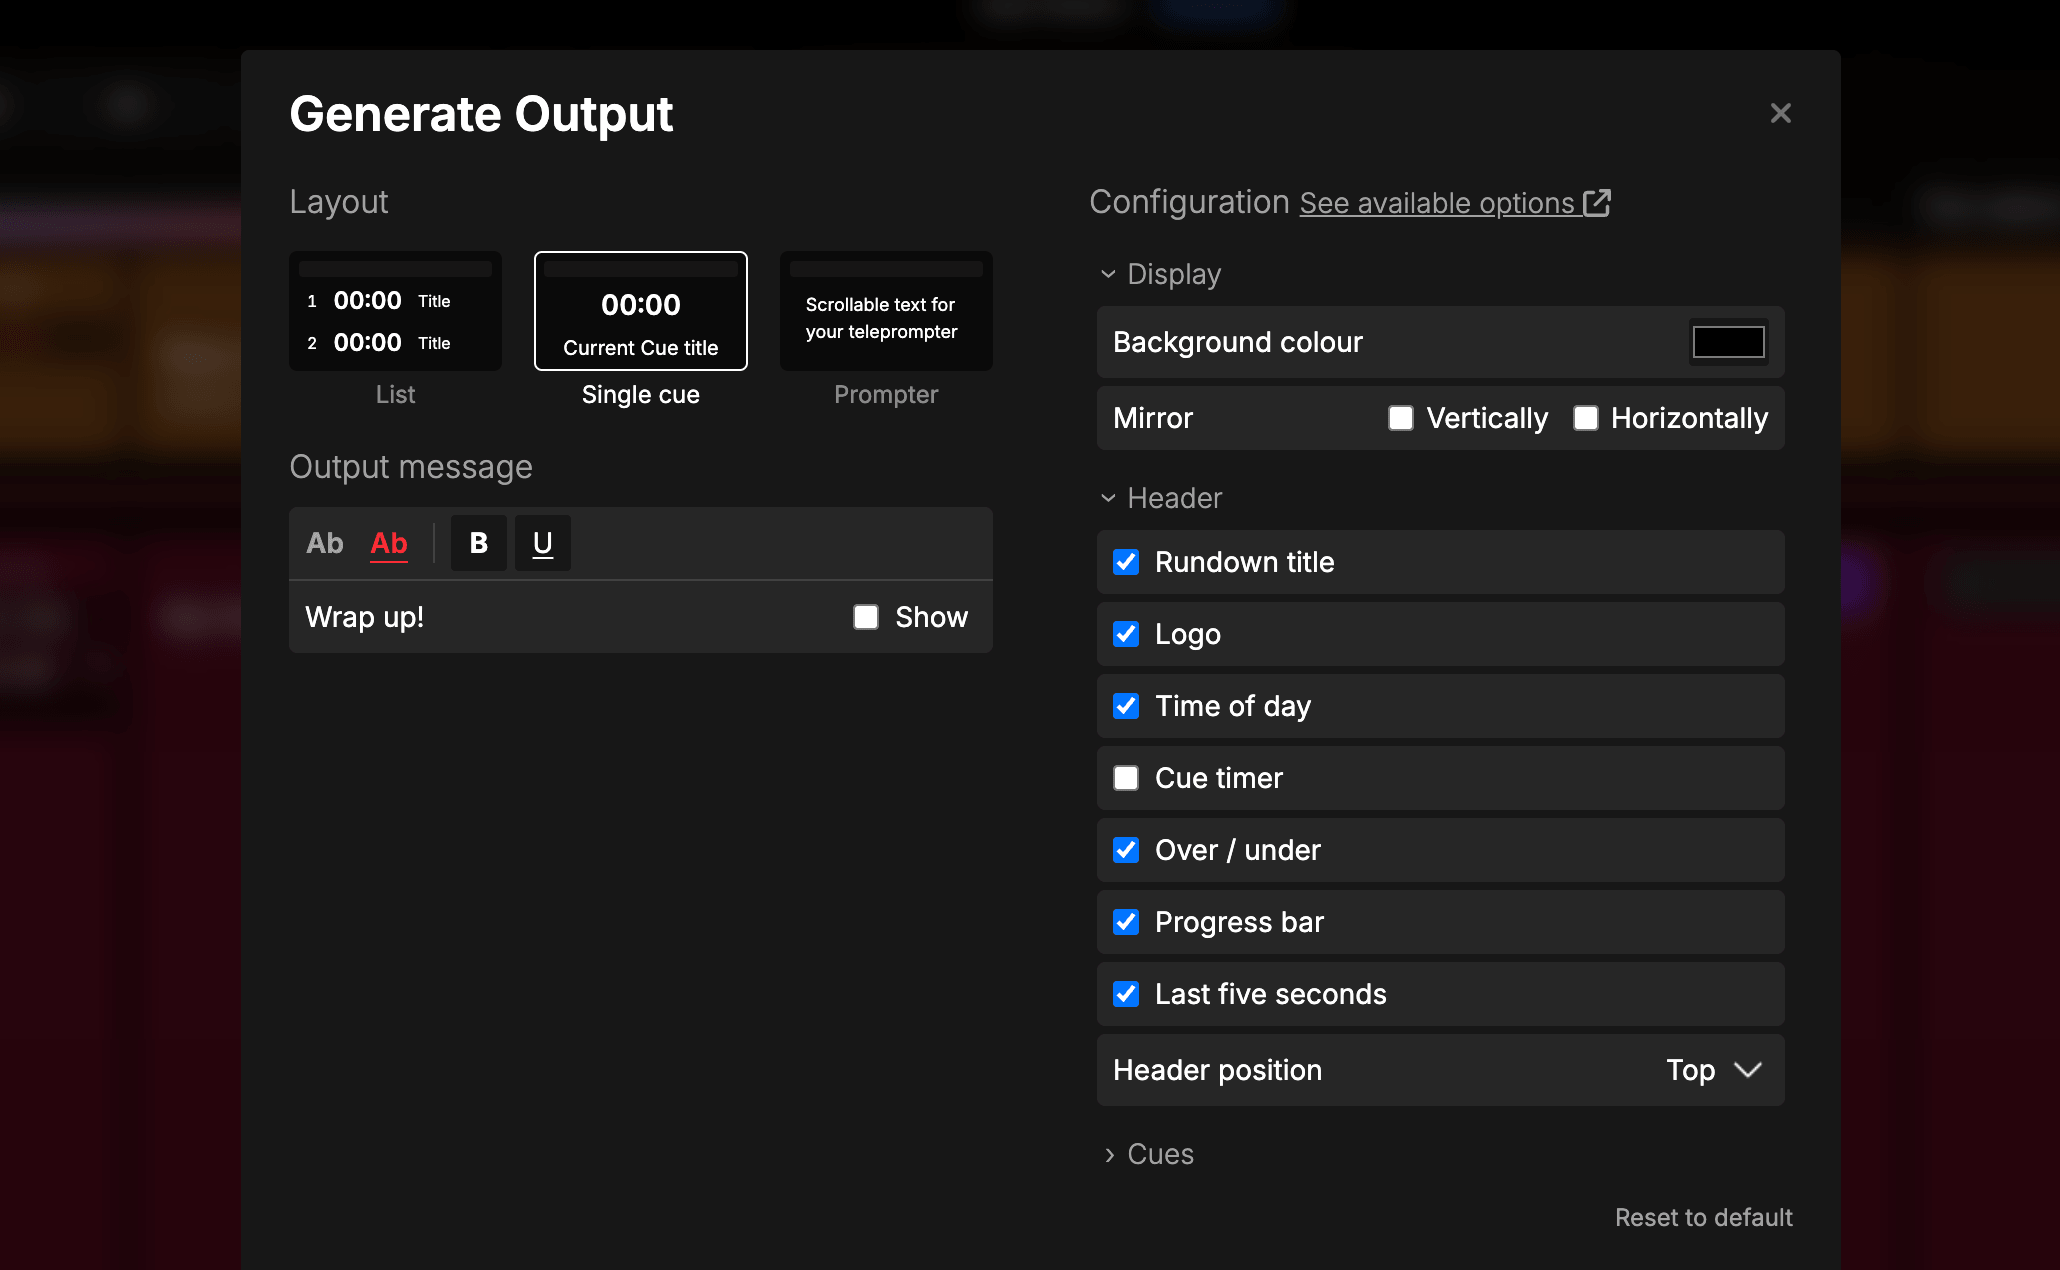
Choose between the “List” and “Single cue” and “Prompter” style depending on your needs and destination of the output.
- List: List of upcoming cues - think of it as a simplified version of the rundown.
- Single cue: Current active rundown cue taking up the whole output.
- Prompter: Smooth scrolling text. Learn how to use our prompter here.
Switching between layouts
The “List” output is a good way to show your entire rundown on a tablet or even on a video production multi-view.
Show columns
The “List” and “Prompter” outputs can also show content from your rundown columns.
- List: Under Choose which columns to show, tick as many columns as you need. Each one appears alongside the cues - useful for giving certain team members just the information relevant to them.
- Prompter: Under Select column, pick the single column that holds your script. Its content becomes the scrolling prompter text. Learn how to set up your script column.

Output messages
You can send a text message to any output without touching the rundown itself. Use it for live cues to talent or the team - “Wrap up”, “Stretch - extra 2 min”, “Hand over to host” - and it appears on the output instantly.
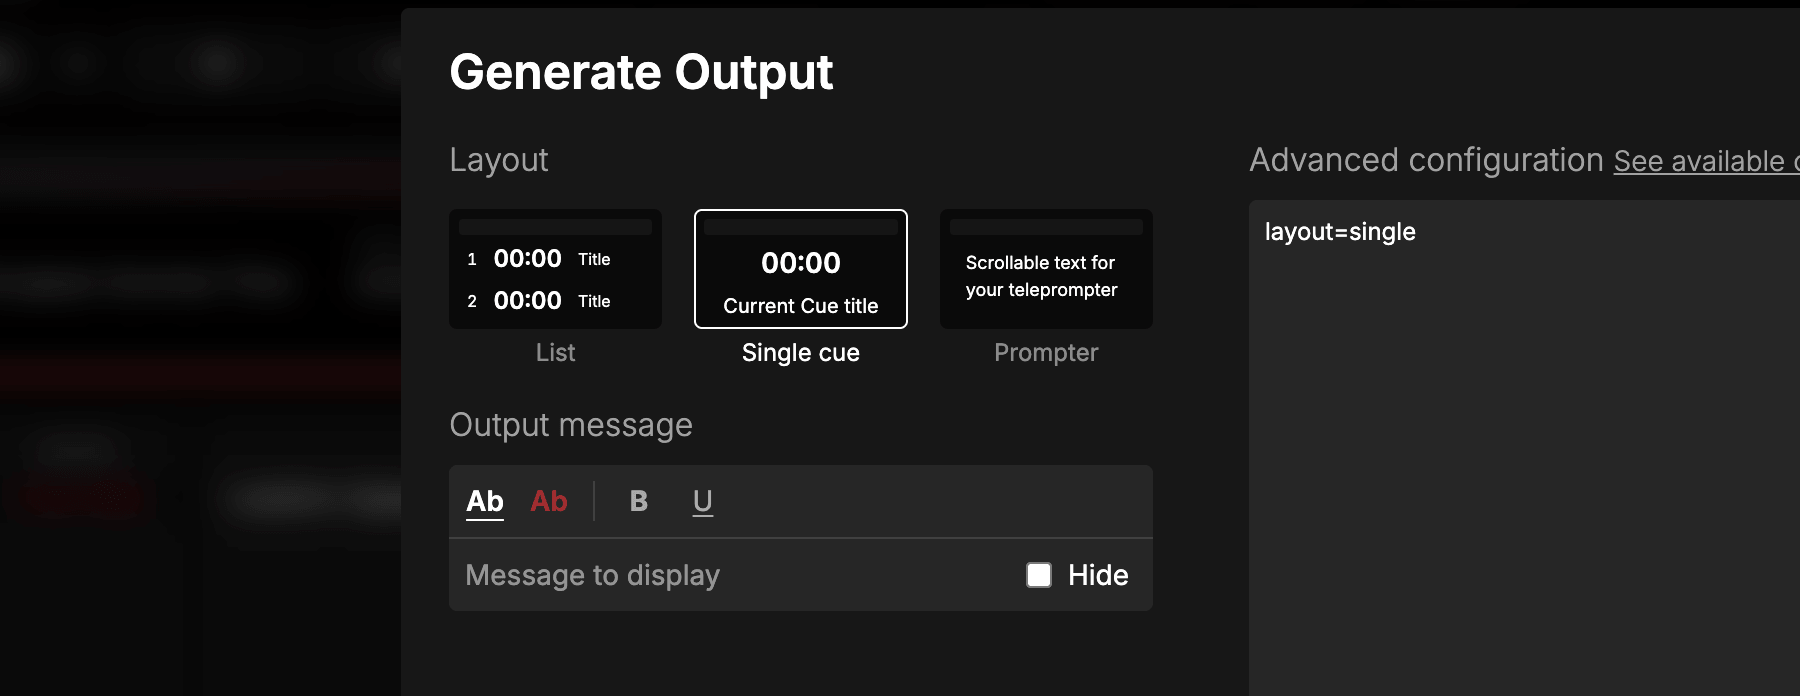
Style the message with bold or underline and choose between white or red text color so it stands out on screen. Toggle Show/Hide to bring the message on and off the output without losing what you’ve typed.
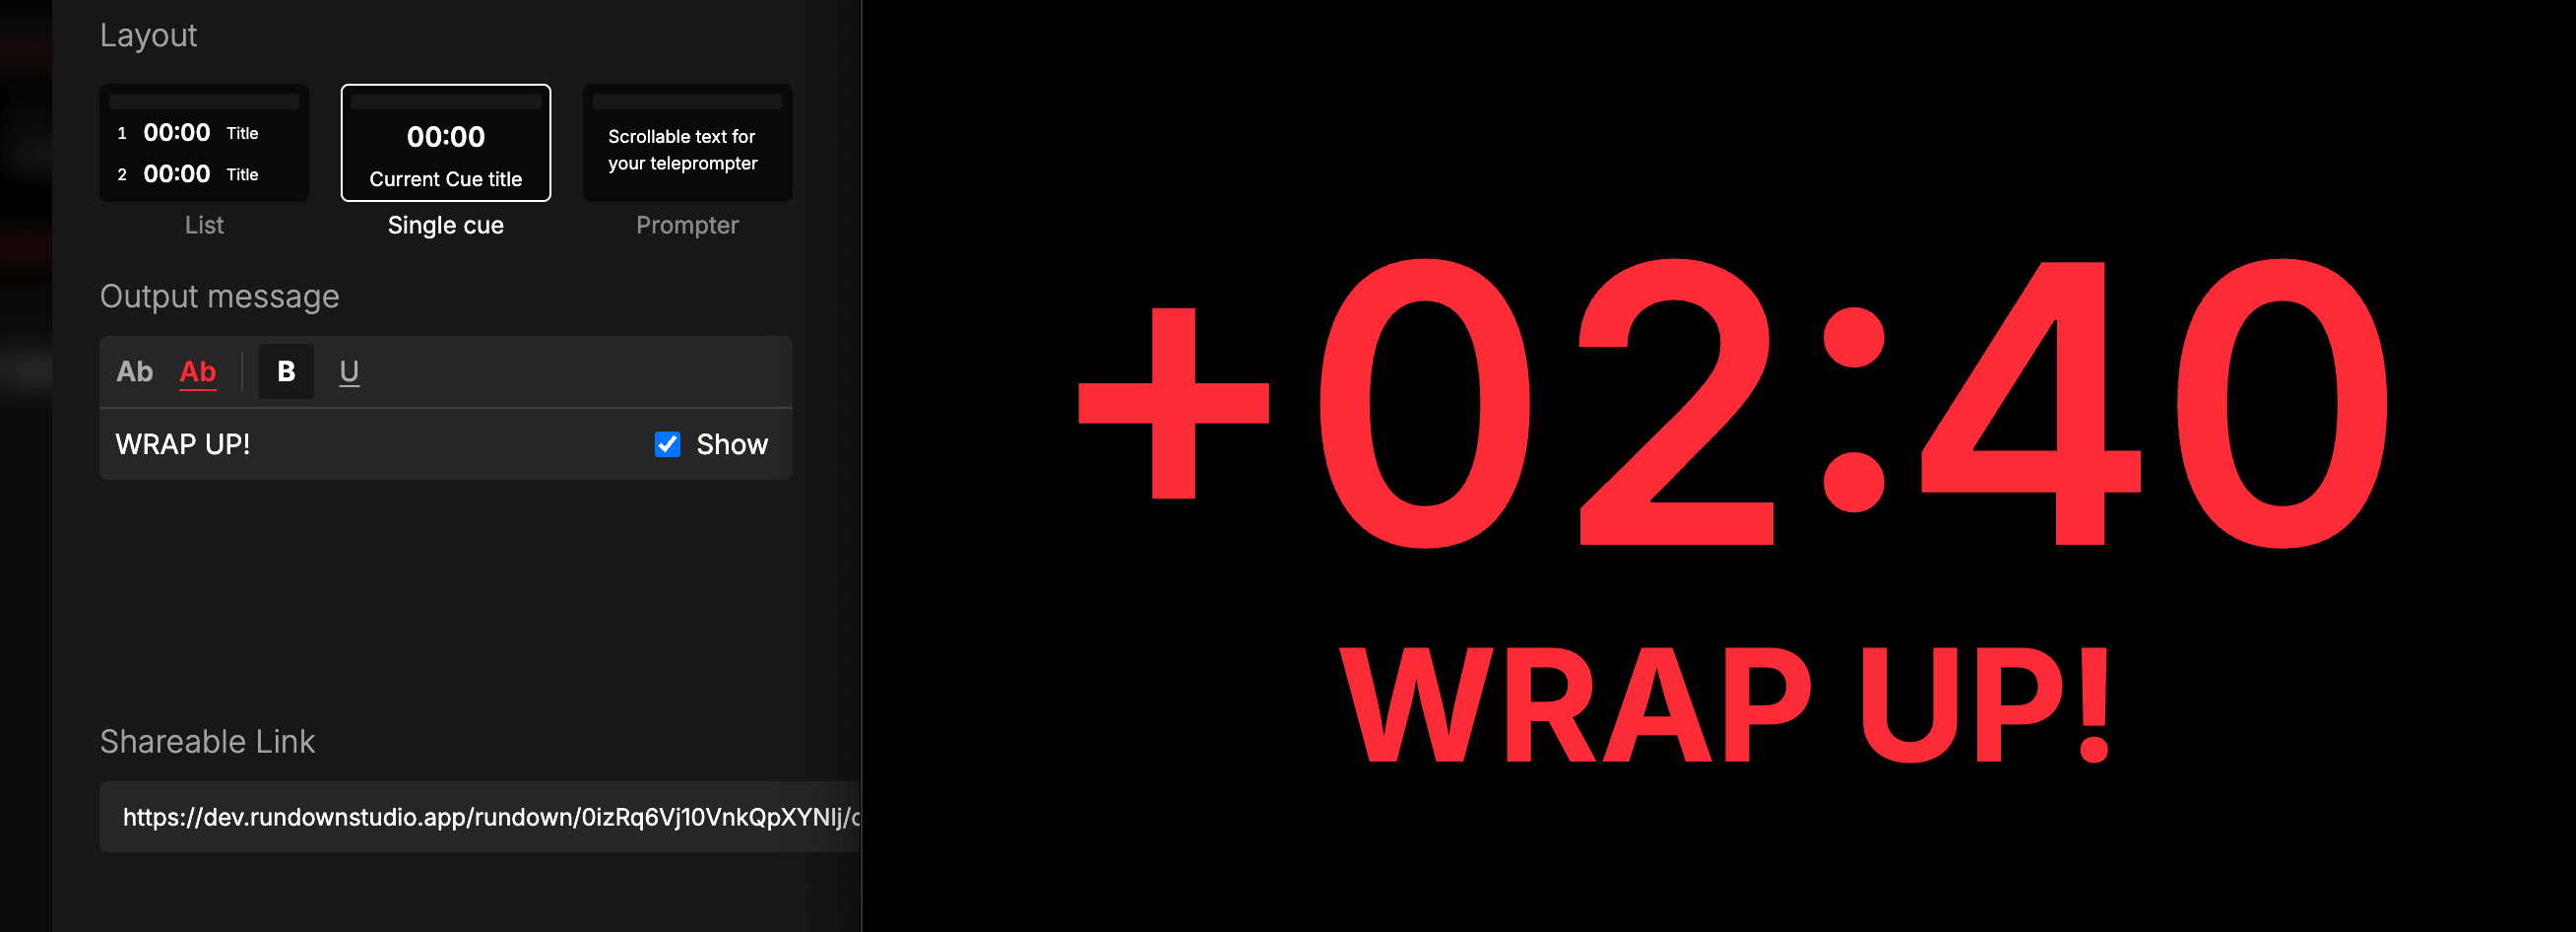
This is useful in environments without talkback, or when you simply want to make sure everyone watching the output is reading the same instruction.
From the public API
Output messages are also available on our public API. You can set the message text, show/hide/toggle it, and control color, bold and underline programmatically - useful for Stream Deck buttons, Companion modules, or any custom integration.
Sub-timers on outputs
Sub-timers with Show on output turned on appear on your outputs. Sub-timers without it are never shown.
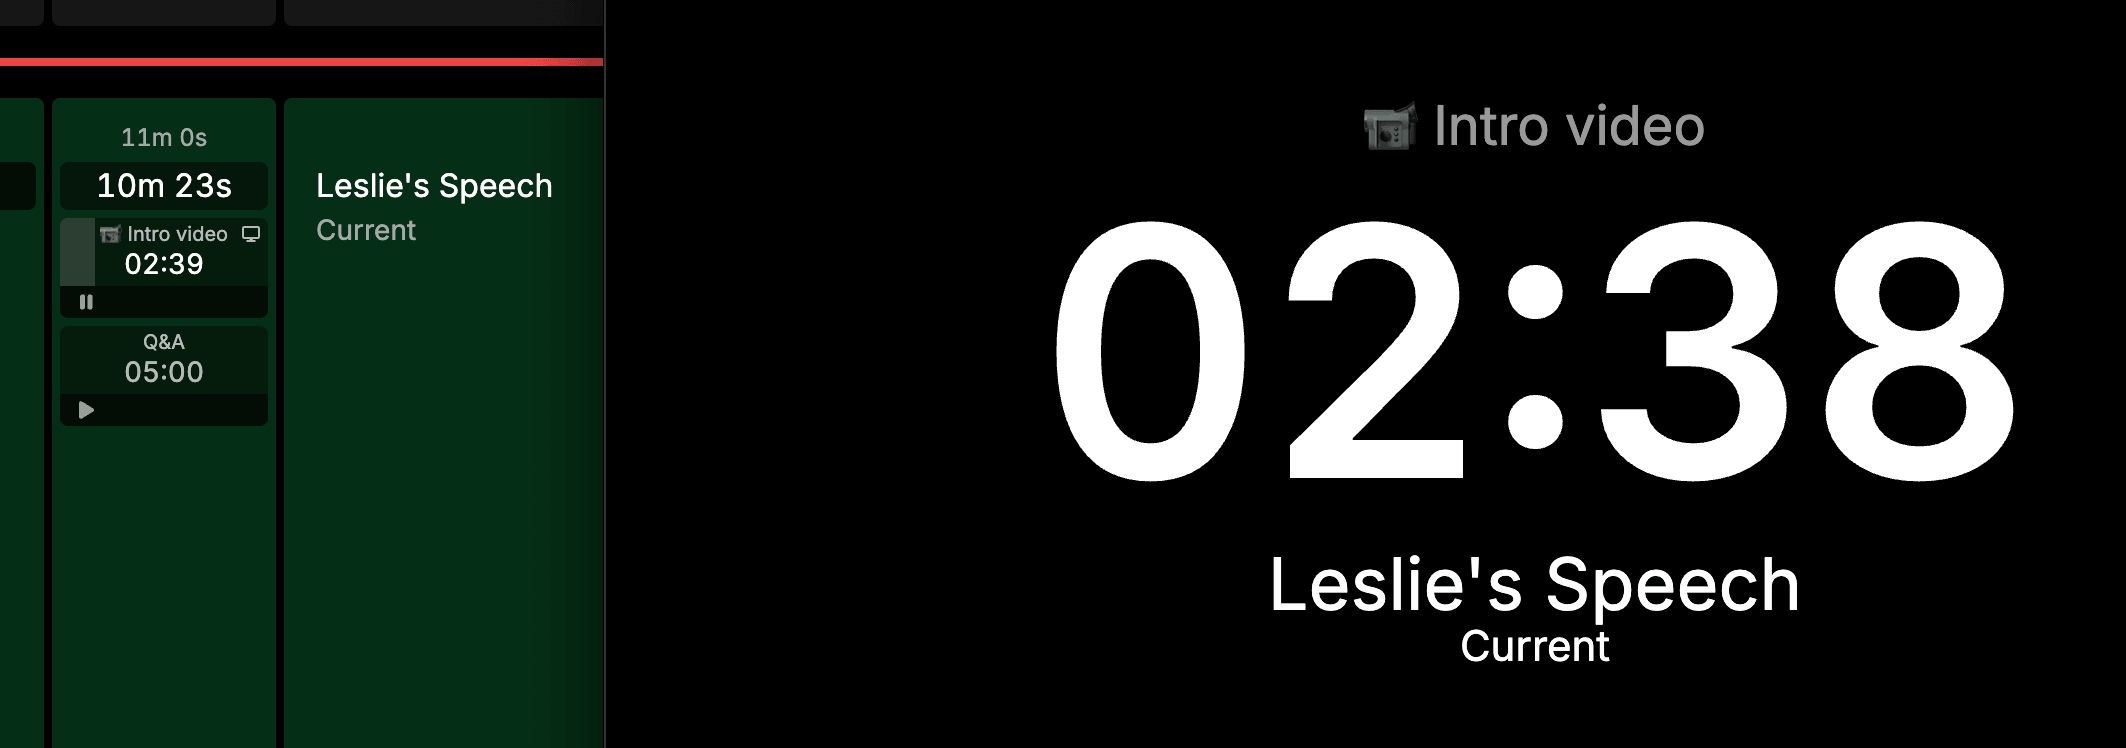
- Single cue - while one of the active cue’s sub-timers is running or paused, it takes over the main timer area, with its name above it. If more than one is running they stack. When none are running, the output goes back to the normal cue countdown.
- Header cue timer - the same rule applies to the cue timer in the header, on any layout that shows it (including the prompter).
- List - every cue shows its sub-timers under its duration, whatever state they’re in.
Running timers are shown in white, stopped timers are dimmed, and timers in overtime are red.
Configuration options
Every output can be tailored to suit where it’s going - a confidence monitor, a multiview, a tablet on the stage manager’s desk. Use the Configuration panel on the right of the Generate Output modal to show, hide and adjust each part of the output. Changes are reflected in the output link straight away.
Options are grouped into Display, Header and Cues. Click Reset to default to put everything back to its starting state.
Options depend on the layout
Not every option applies to every layout, so some are disabled depending on which output you’ve selected. Disabled options are greyed out and can’t be ticked until you switch to a layout that uses them.
Display and Header options are available on every layout. Cues options depend on the layout:
- List: Cue numbers, Titles, Subtitles, Cue background colours, Durations, Start times and End times.
- Single cue: Start times, End times, Next cue and Large time of day.
- Prompter: None - all Cues options are disabled.
Breakdown of the list output
Here’s a breakdown of the list-style output detailing the important terms and areas that can be adjusted.

Breakdown of the single cue output
Here’s a breakdown of the single cue-style output detailing the important terms and areas that can be adjusted.

Display
- Background colour: Choose the background color of the output. Set it to transparent when keying the output over video in a software switcher. Default: black.
- Mirror: Flip the output Vertically, Horizontally or both - useful for teleprompters and reflected displays. Default: off.
Header
- Rundown title: Show the main title of your rundown. Default: on.
- Logo: Show the logo on the output. Default: on.
- Time of day: Show the time of day in the header. Default: on.
- Cue timer: Show the current cue timer in the header. Default: on.
- Over / under: Show the over/under count. Default: on.
- Progress bar: Show the large progress bar. Default: on.
- Last five seconds: Show the last five seconds indicator. Default: on.
- Header position: Place the header at the Top or Bottom of the output. Default: top.
Cues
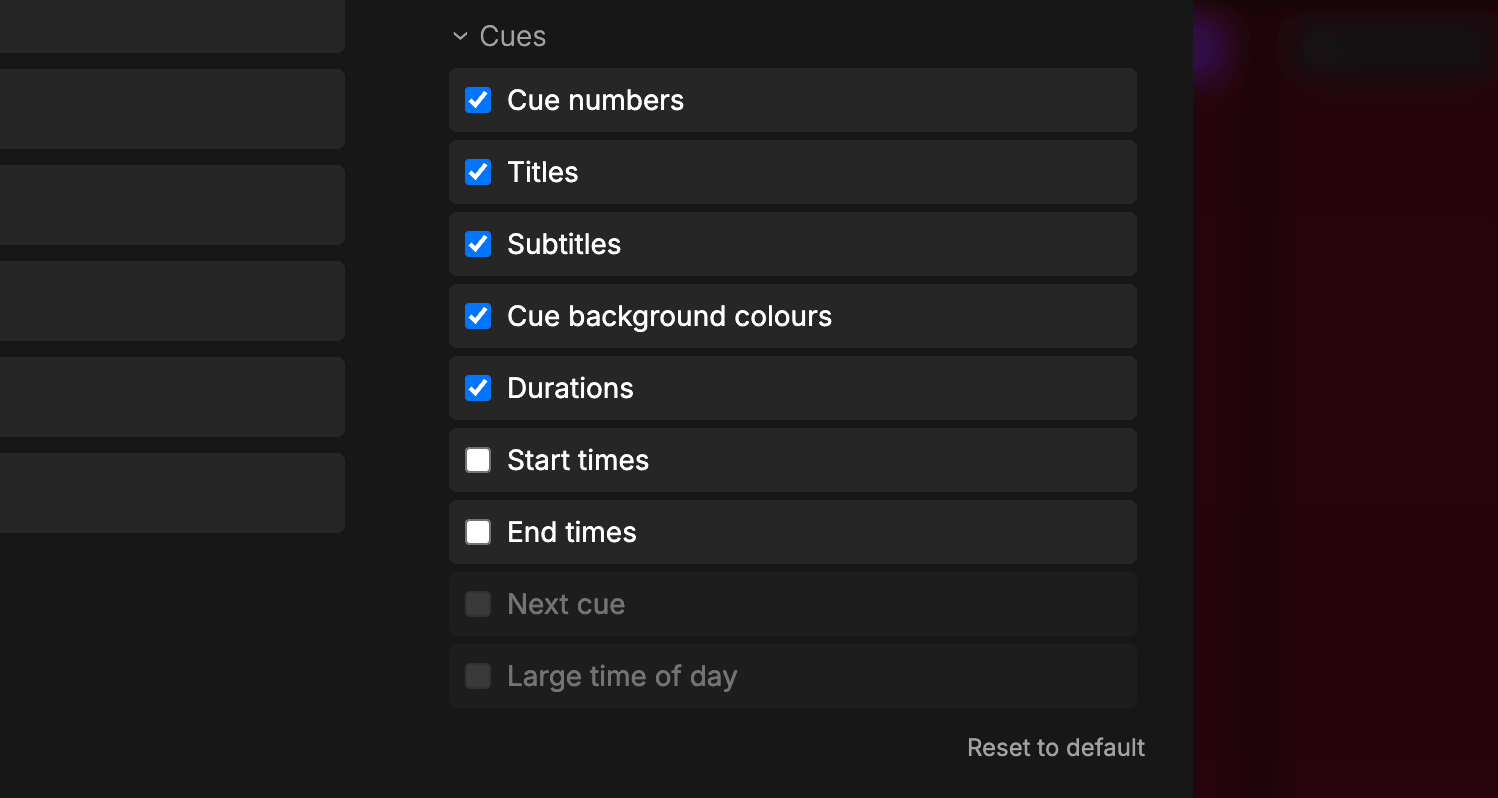
- Cue numbers (“List” layout only): Show the index numbers on cues, groups and nested group children (
1,1.2). Default: on. - Titles (“List” layout only): Show cue and group titles. Heading cues are nothing but a title, so turning this off removes heading rows entirely rather than leaving an empty coloured bar behind. Default: on.
- Subtitles (“List” layout only): Show the subtitle under each cue title. Default: on.
- Cue background colours (“List” layout only): Show the background color of each cue. Default: on.
- Durations (“List” layout only): Show the duration of each cue. Turning this off clears the duration column completely - both the planned duration on inactive cues and the running timer on the active cue. Combine it with Cue timer off to leave no running clock anywhere on the output. Default: on.
- Start times (“List” and “Single cue” layouts): Show the start time of each cue. Default: off.
- End times (“List” and “Single cue” layouts): Show the end time of each cue. Default: off.
- Next cue (“Single cue” layout only): Show the next cue’s details at the bottom of the output. Default: off.
- Large time of day (“Single cue” layout only): Show a large time of day under the elapsed cue time. Default: off.