Getting started
What is Rundown Studio?Create an accountRundown
Rundown basicsColumnsTemplatesSettingsTrashMentionsText variablesRunning a showImport CSV rundownEvent
Event basicsSharing eventsIntegrations
APICompanion ModuleQLabSharing and outputs
Read-only rundownEditable rundownOutputPrompterPDF exportCSV exportAccount
Your teamSubscription and invoicesUpdates
ChangelogImport CSV
Importing your existing rundown from Google Sheets or Microsoft Excel documents can be done much faster with our Import CSV feature.
Video overview
Getting started
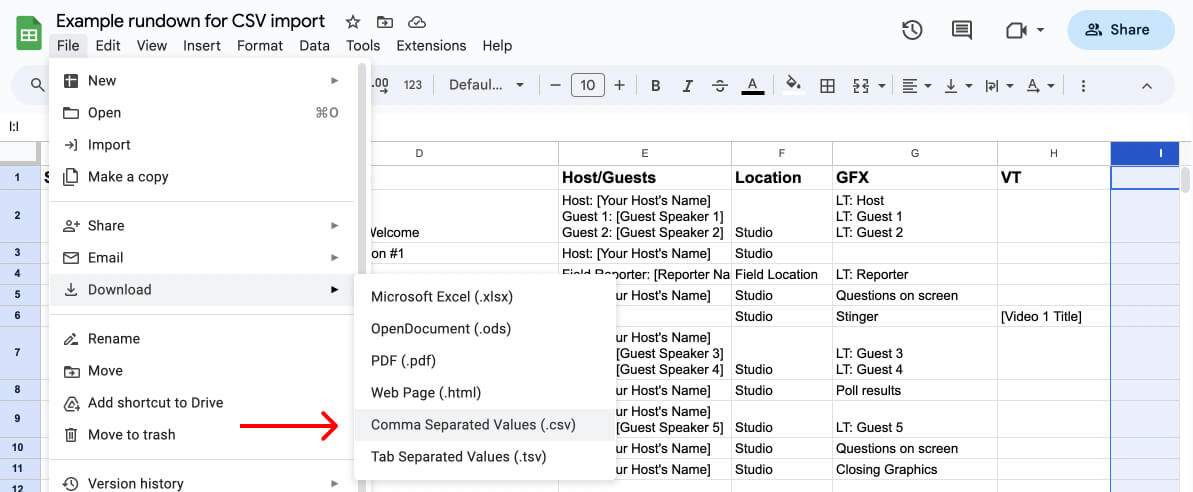
First, you’ll want to download a CSV copy of your rundown from the external tool. This can often be done in the export menu.
Once you have your CSV downloaded, sign into your Rundown Studio account and head over to the dashboard to start the import process.
Not sure where you start, try making a copy of our starter template.
Importing a CSV file
In your dashboard, click the “Import CSV” button and this will take you into the import process.

Step 1: Timezone and import
Step 1 of the import process is choosing a timezone in which your rundown will take place. This will help us parse and import start times.
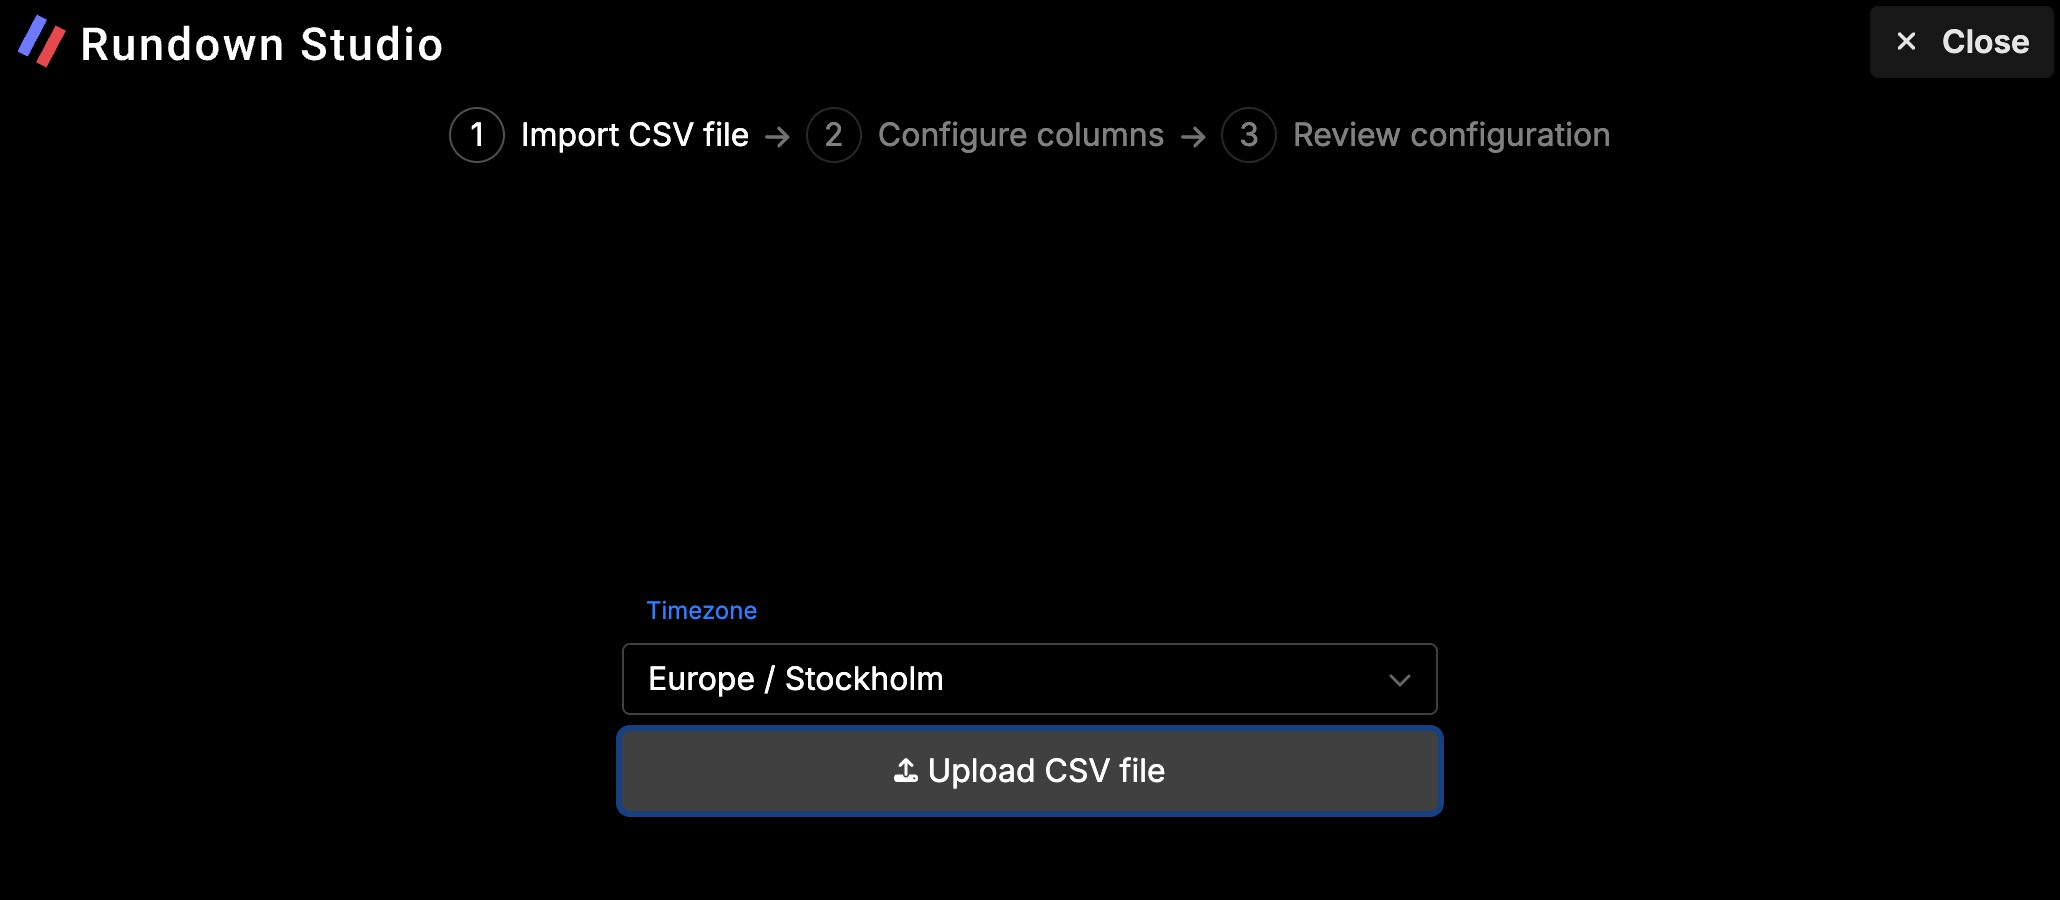
Use the Upload CSV file button to choose the CSV file from your computer.
Once you chose a file, we will import and parse your file within the browser and take you to the next step.
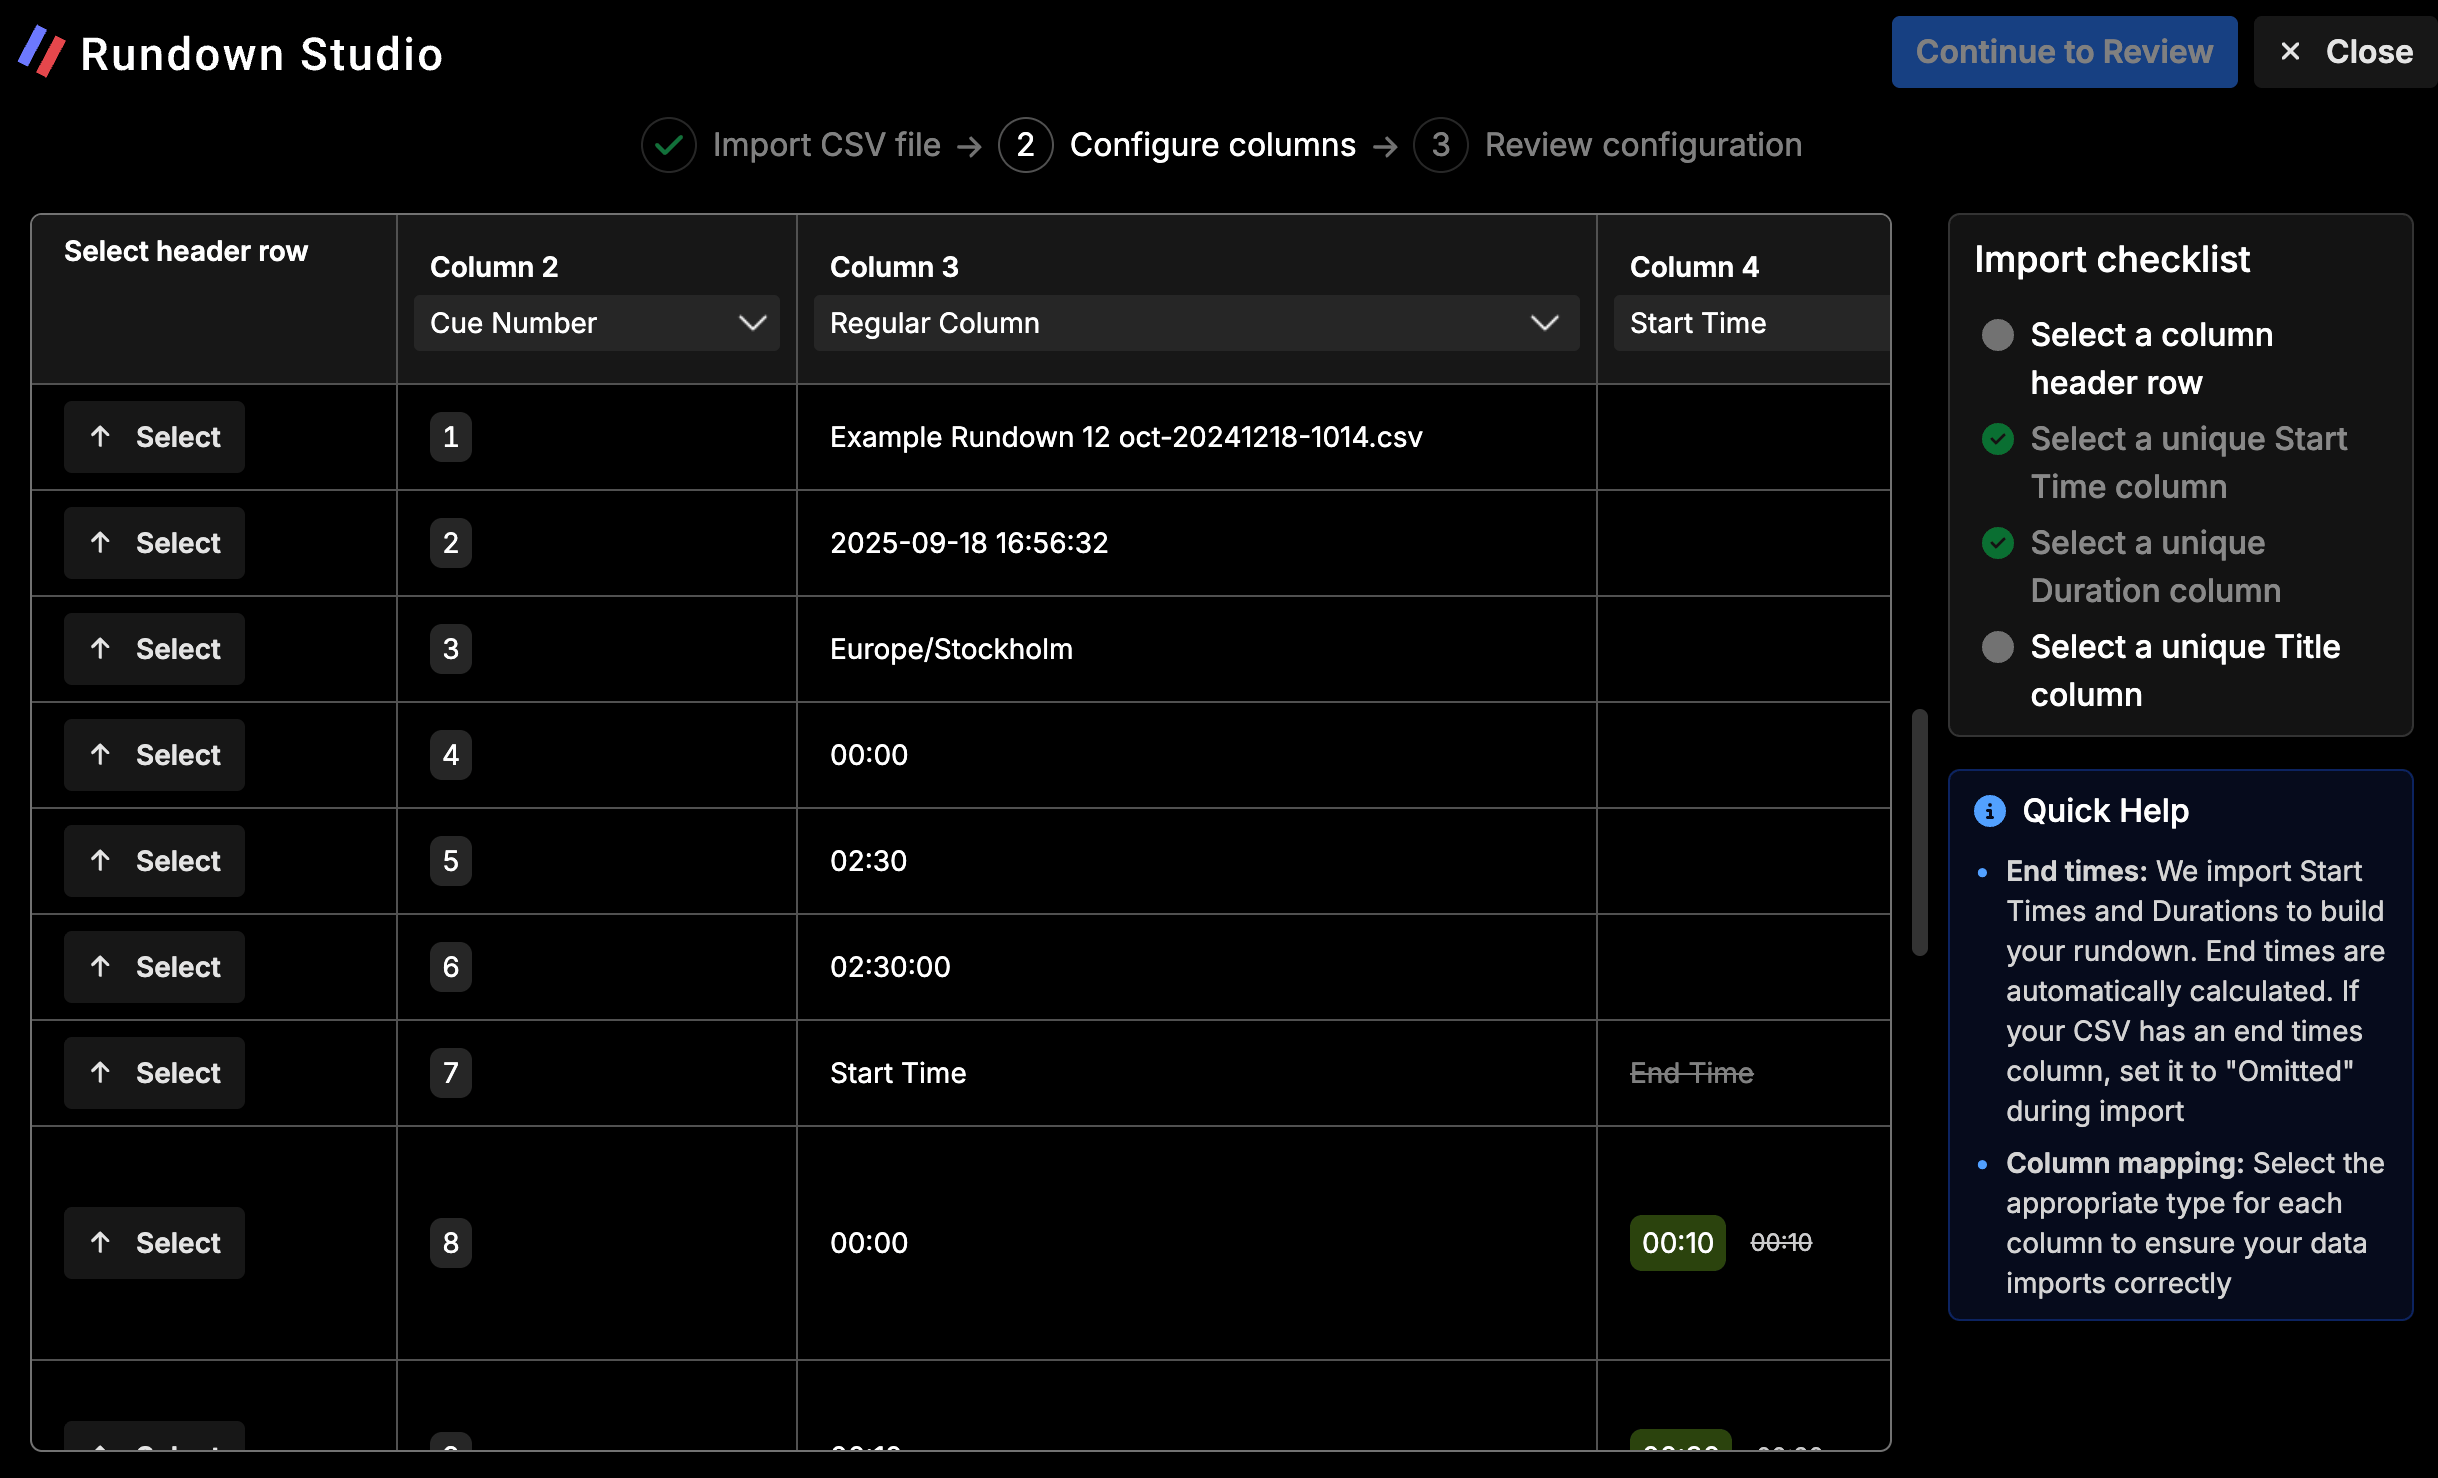
Step 2: Configuration
Next, you can configure how the CSV should be imported. You will be prompted to select:
- Heading row: Which row to use as heading columns - these are crucial for Rundown Studio to know what each of your columns contain.
- Start time column: This column should contain all the start times - We will use these as the actual start time for each cue in your rundown.
- Duration column: We’ll use this column to parse all the durations for each cue.
- Title column: This column will be used to set the title for each cue on your imported rundown.
Heading row
Choosing a heading row is important as we will use this as the column headings on your imported rundown.

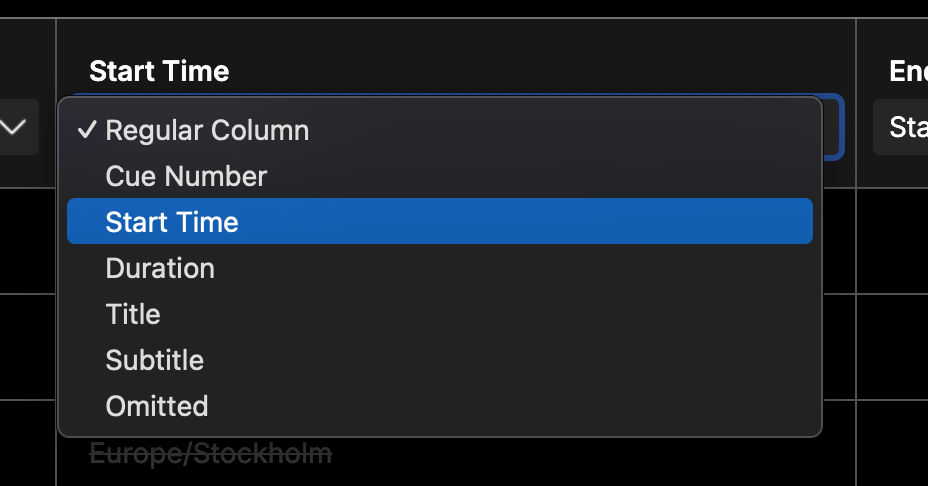
Start time and Duration
Use the dropdown menu in each of your column headings to tell Rundown Studio what your columns contain.
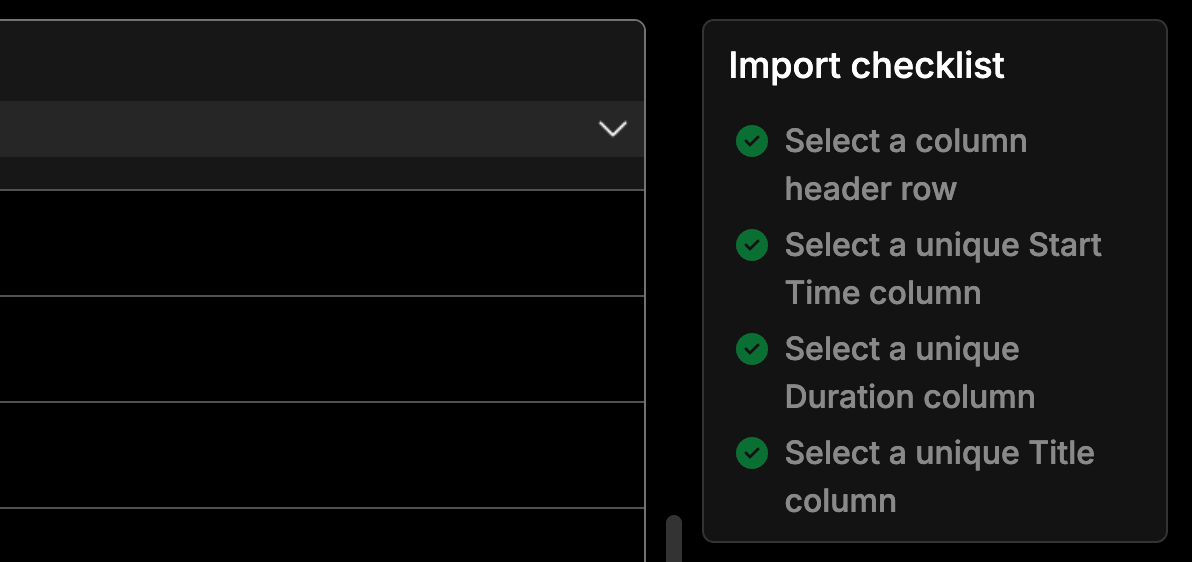
Import checklist
We’ve added an import checklist to make sure all the necessary steps are completed before we fully import the rundown.
You will have to complete all the items before continuing to the final step.
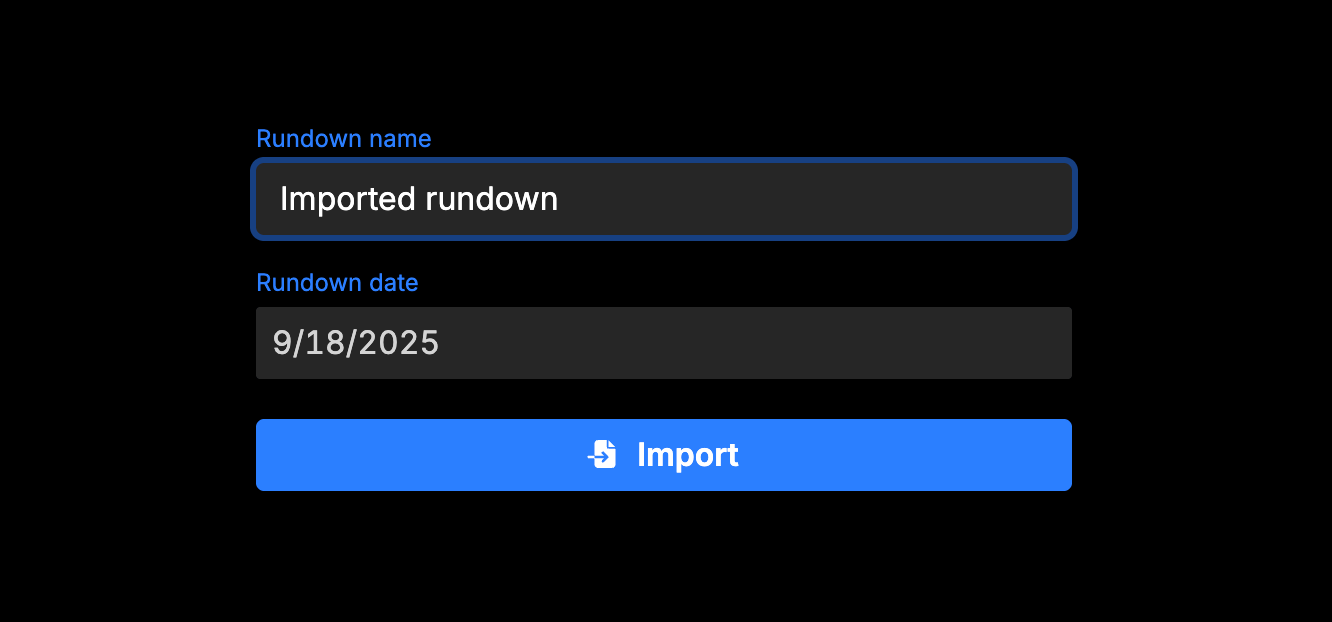
Step 3: Final
The final step of importing is to choose the name and date of your rundown.
Then click Import and we will take it from there.
After a few seconds, we will import your rundown and redirect you to the rundown.
Just like any other rundown
From there, you can use this freshly created rundown just like any other one in your account - and better yet, you don’t need to do any more work to populate all the data into your account.