Build Your Own Rundown Studio Output with Lovable and the v1 API
• John Barker
Rundown Studio ships with a set of ready-made outputs - list, single cue, and prompter - that cover most on-screen needs. But sometimes you want something that’s entirely your own: a branded countdown for the green room, a stripped-back clock for a floor monitor, a status board for the gallery, or a display that matches your show’s exact look.
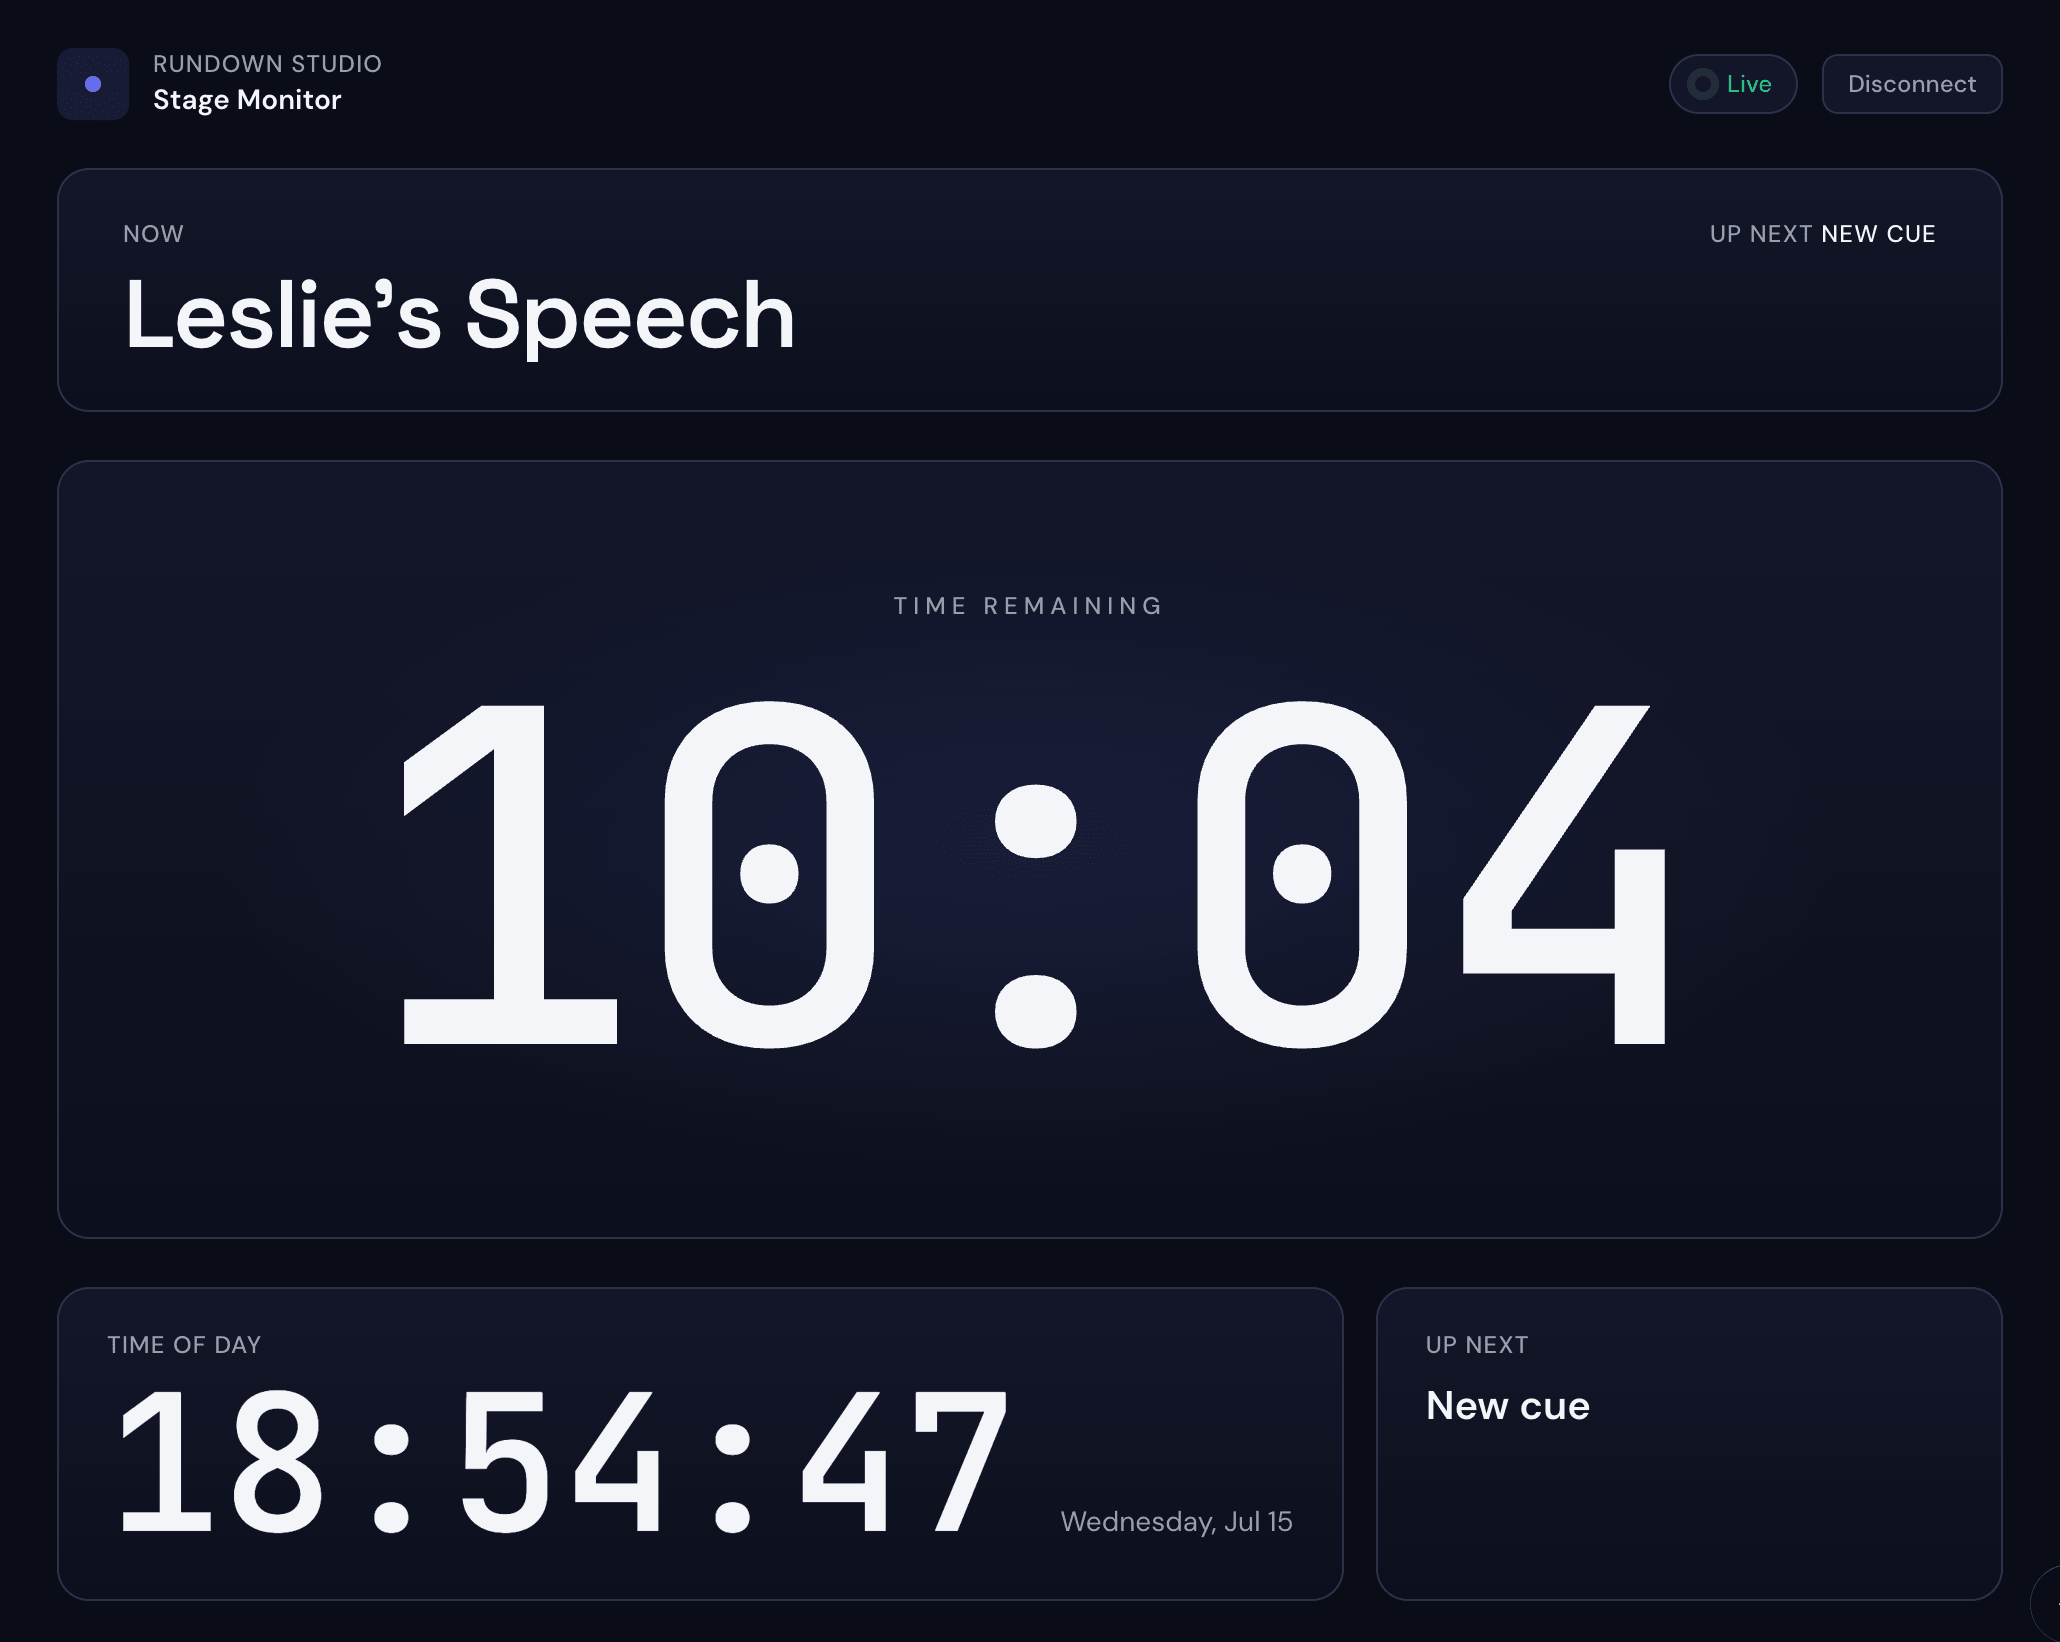
With our new public v1 API and an AI app builder like Lovable, you can build exactly that - a custom, live-updating output - without writing a line of code yourself. You describe what you want in plain English, point the AI at our API, and it builds a working web app that subscribes to your rundown and updates in real time.
Here’s how to do it, step by step.
What we’re building
The key thing that makes this work is our live updates stream. Instead of asking the API “what’s happening now?” over and over, your app opens a single connection and the API pushes every change to it the instant it happens - the show starting, a cue advancing, the countdown ticking down. That’s the same live data feed the built-in outputs use.
So the app we’ll build with Lovable will:
- Connect to your rundown
- Show the current cue and a running countdown clock
- Update instantly whenever the show moves on - no refreshing, no polling
You can then take that further with your own styling, extra fields, or whatever your production needs.
Before you start
You’ll need two things from Rundown Studio:
1. An API token
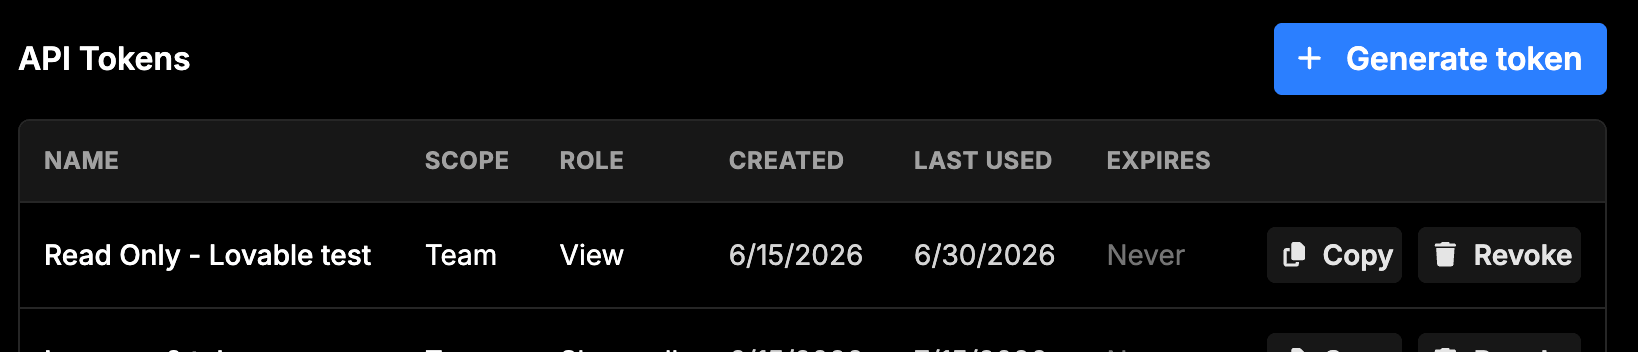
Open the API section of your Rundown Studio dashboard and create a new token. For an output display, a read-only token is all you need:
- Scope: pin it to the single rundown you want to display (a rundown token), or use a team token if you prefer.
- Role: choose
VIEW. An output only ever reads the show - it never needs to edit or control it, so give it the narrowest role that works.
Copy the token somewhere safe. Treat it like a password - anyone with it can read your rundown until it expires or you revoke it.
You can read more about tokens in the Getting started guide.
2. Your rundown ID
Every rundown has a unique ID. You can find it in the URL when you have the rundown open, or by listing your rundowns from the API. It looks something like YOmm4UG2SGSomuOci44c. Keep it handy - Lovable will need it.
Step 1: Start a new Lovable project
Head to lovable.dev and create a new project. Lovable builds a web app for you from a written description - you talk to it in plain English and it writes and runs the code.
We’re going to give it one carefully written prompt that tells it exactly how our API works, so it gets a working output on the first try.
Step 2: Give it the prompt
The prompt below describes the output we want and teaches Lovable how our live updates stream works, so it doesn’t have to guess. The quickest way is this button - it opens Lovable with the whole prompt already filled in:
💜 Build in Lovable Opens Lovable with this prompt pre-filled - just add your token and rundown ID. →Prefer to paste it yourself? Here’s the full prompt to copy into Lovable:
Prompt to paste into Lovable:
Build a full-screen live “output” display web app for a live event, driven by the Rundown Studio public v1 API. It should show the current cue and a large countdown clock, and update in real time.
How the API works - read this carefully:
The app connects to a Server-Sent Events (SSE) stream to receive live updates. Open it with the browser’s built-in
EventSource:https://api-v1.rundownstudio.app/rundowns/{RUNDOWN_ID}/events?token={TOKEN}Authenticate by putting the token in the
?token=query parameter (EventSource cannot set headers).As soon as you connect, and every time the show changes, the stream sends a
statusevent. Itsdatais a JSON snapshot like this:{ "server_time": 1747000000000, "state": "running", "active_cue": { "id": "Ii6WeSEQmEqyKY6YAu8c", "title": "Opening monologue", "started_at": 1747000000000, "paused_at": null, "duration_ms": 60000 }, "next_cue": { "id": "Ec0mmeOaGq68oiASGoSG", "title": "Guest intro" } }
stateis one ofrunning,paused, orstopped.- All times are epoch milliseconds.
Compute the countdown locally - do NOT poll or reconnect for each tick. Run a local clock and re-anchor it every time a new
statusevent arrives:
state == "running":remaining = active_cue.started_at + active_cue.duration_ms - server_timestate == "paused":remaining = active_cue.started_at + active_cue.duration_ms - active_cue.paused_atstate == "stopped": no active cue - show a neutral “standby” state.Anchor to the snapshot’s
server_time, not the browser clock: measure how much real time has elapsed since the event arrived and subtract that fromremaining. Tick the display down locally every 100ms or so.Stay connected: the server may cycle the connection and send an
event: disconnect. A CLOSEDEventSourcedoes not auto-reconnect, so create a new one when that happens or on error. Each reconnect’s firststatusevent is the new source of truth - just resync to it.What to display:
- The current cue title, big and centered.
- A large countdown clock (MM:SS), turning red in the final 30 seconds and flashing in the last 5.
- The next cue title, smaller, at the bottom.
- A small “LIVE / PAUSED / STANDBY” indicator based on
state.- A clean, dark, high-contrast look suitable for a monitor in a control room.
Put the rundown ID and token in a config/settings screen or environment variables so they’re easy to change. Use this rundown ID:
{PASTE YOUR RUNDOWN ID}and this token:{PASTE YOUR TOKEN}.
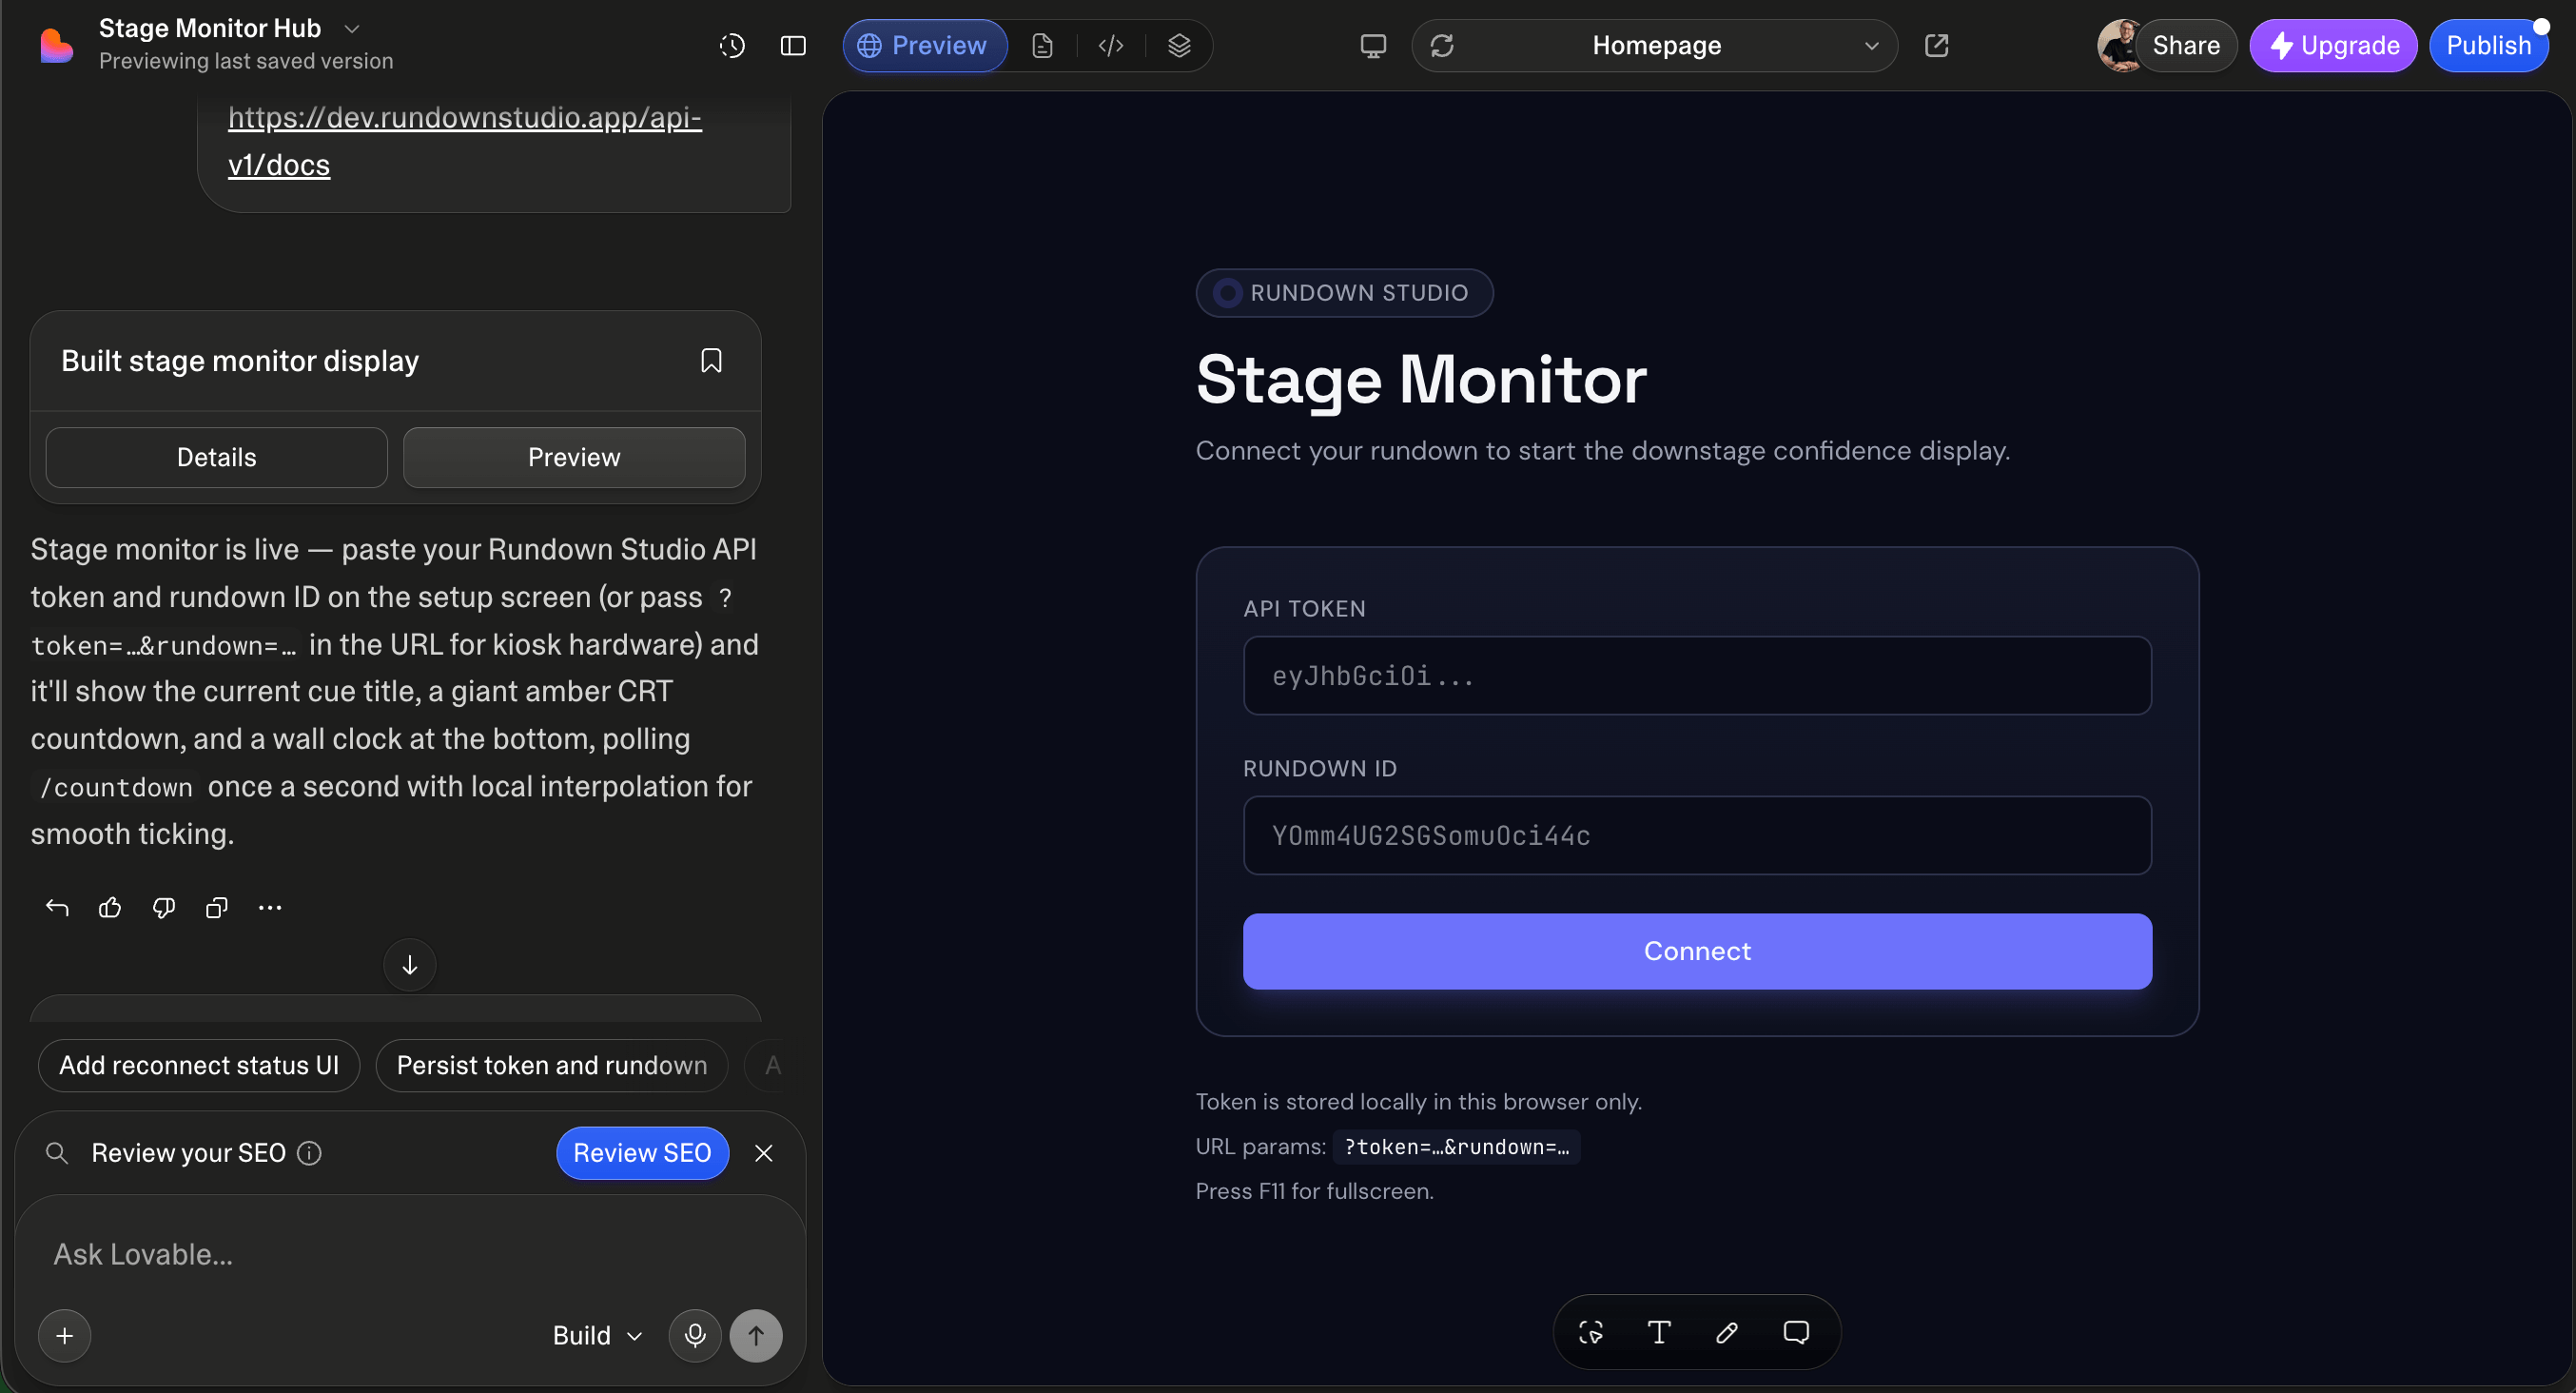
Once Lovable has built the app, it’ll ask for your rundown ID and token on a setup screen - drop them in and you’re live.
Step 3: Watch it build
Lovable will generate the app and show you a live preview. Because the prompt tells it exactly how the status snapshot is shaped and how to compute the countdown, it should connect to your rundown and start displaying the current cue right away.
If your show isn’t running, you’ll see the “standby” state - that’s correct. Open your rundown in Rundown Studio, start the show, and advance a cue. The Lovable preview should update instantly to match.
Step 4: Refine it
This is where it gets fun. Because the hard part - the live connection - is already working, you can now ask Lovable for anything you like in plain English:
- “Add our logo to the top left and use our brand colors: background #0a0a12, accent #ff3b30.”
- “Show the time of day in the corner.”
- “Make the countdown even bigger and use a monospace font.”
- “Add a progress bar under the cue title that empties as the cue runs down.”
- “When there’s an output message from the show, display it across the bottom in red.”
Each request is a small conversation with Lovable - describe the change, look at the preview, adjust. You never touch the code.
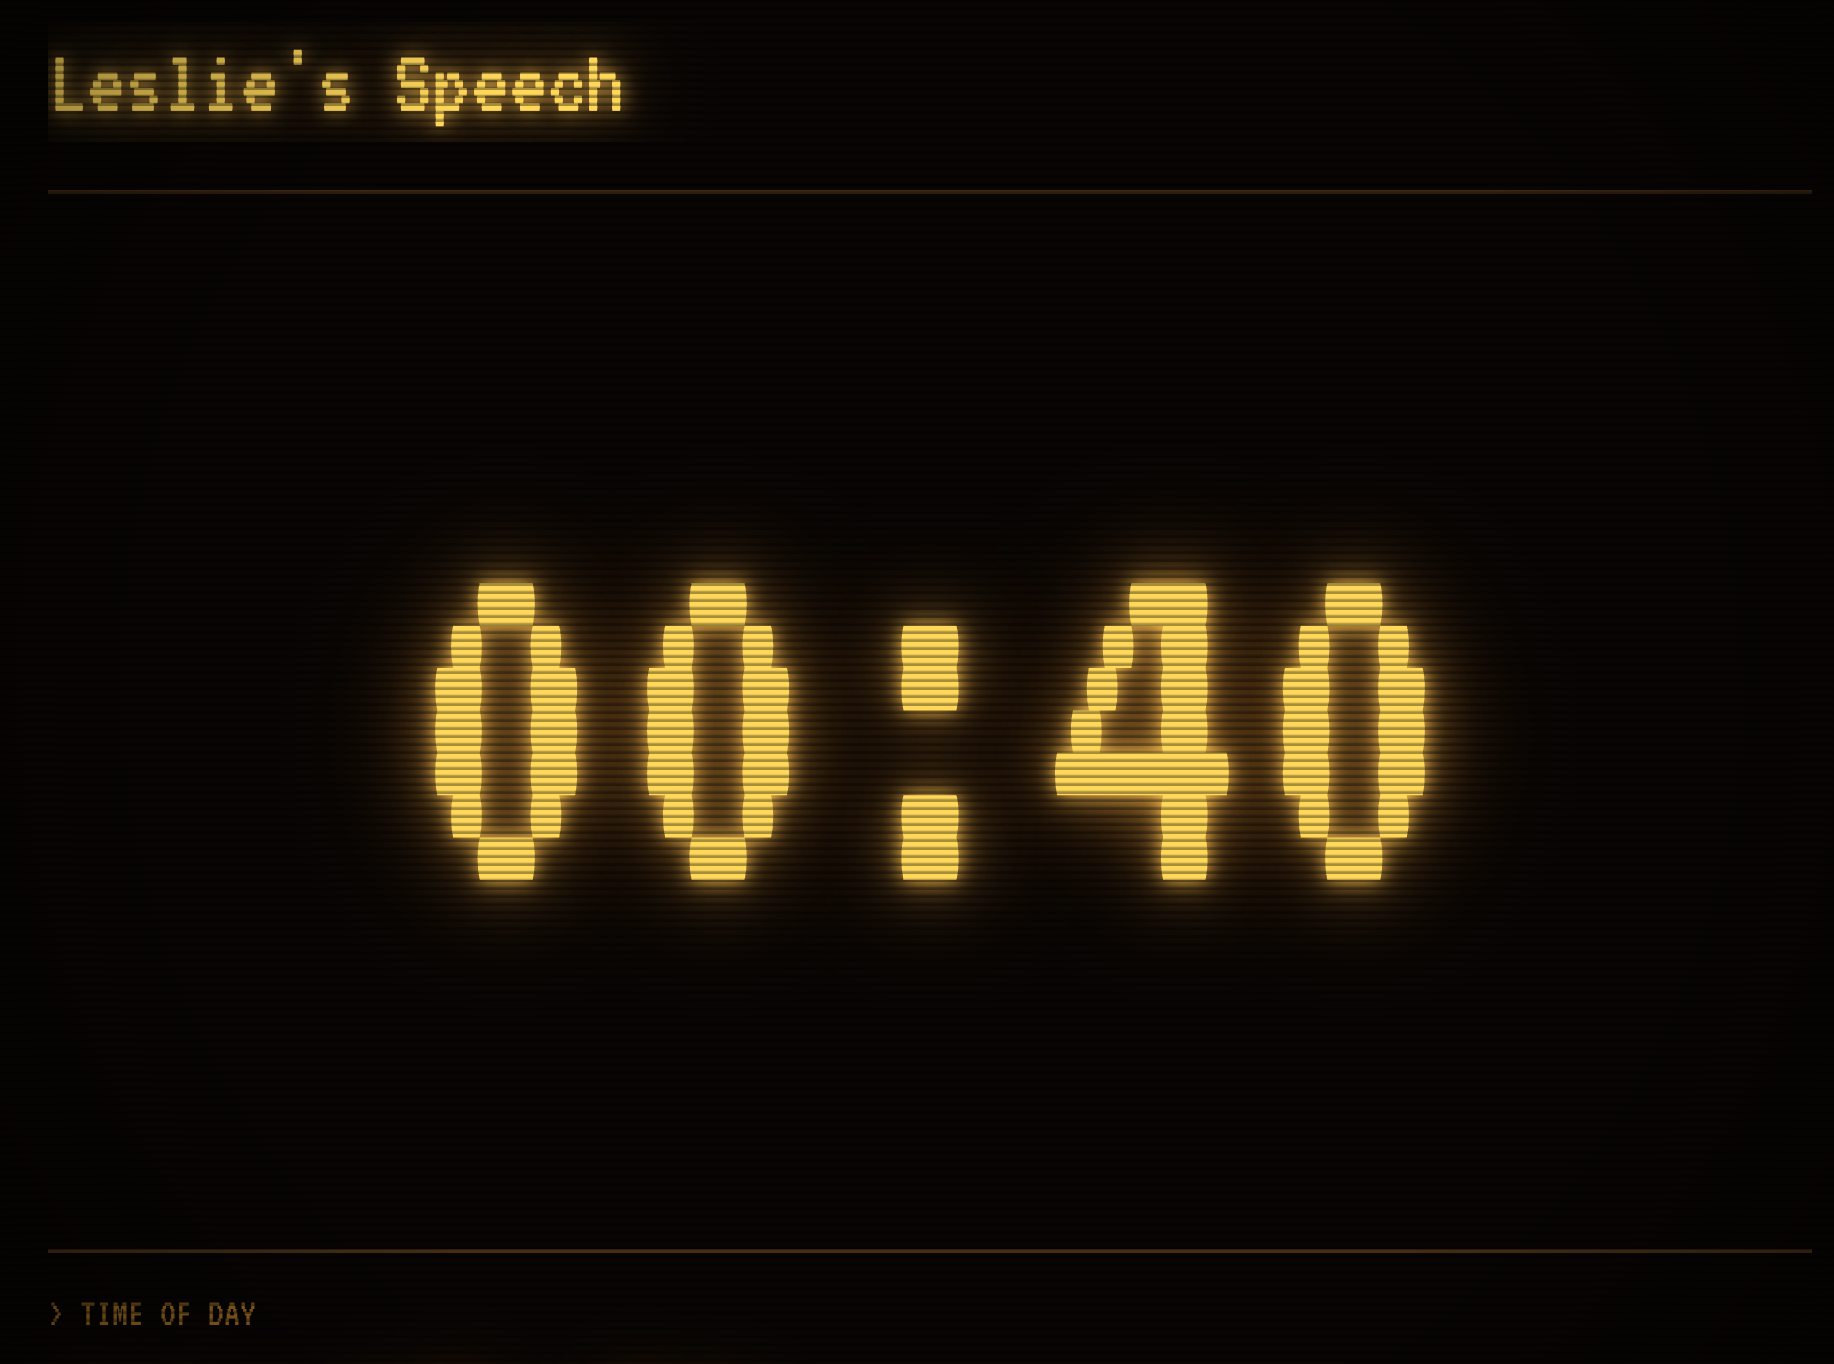
Because the live data is the same underneath, you can take the look absolutely anywhere. Ask for a retro amber-CRT terminal, a minimalist black-and-white clock, your exact brand palette - whatever suits the screen it’s going on.
Step 5: Publish and use it
When you’re happy, publish the app from Lovable. You’ll get a URL you can open on any screen - a tablet in the green room, a floor monitor, a browser source in your video switcher (set the background to transparent if you’re keying it over other content), or just a laptop on the desk.
Because the display authenticates with your token and reads live from the API, it will keep itself in sync with your rundown for the whole show, with no further effort from you.
A note on your token
Anything you publish that contains your token is readable by anyone who can reach the URL. For a private green-room display on your own network that’s usually fine, but keep two things in mind:
- Use a
VIEWtoken so the display can never do more than read. - Set an expiry date on the token when you create it, so a one-off show display cleans up after itself. You can always revoke it from the dashboard the moment you’re done.
Where to go next
This same pattern - point an AI builder at our API and describe what you want - works for far more than outputs. The full v1 API can build and edit rundowns, write cell content, and control the show, so you can build custom controllers, dashboards, and integrations the same way.
- Live updates over SSE - the full detail on the stream we used here.
- API getting started - tokens, authentication, and your first request.
- The interactive API reference - every endpoint, always in sync with the live API. You can even feed the OpenAPI spec straight to your AI builder.
Stay up to date with our latest guides with our email newsletter.